- Continue Shopping
- Your Cart is Empty
Vorsprung Smashpot - Install & First Impressions!
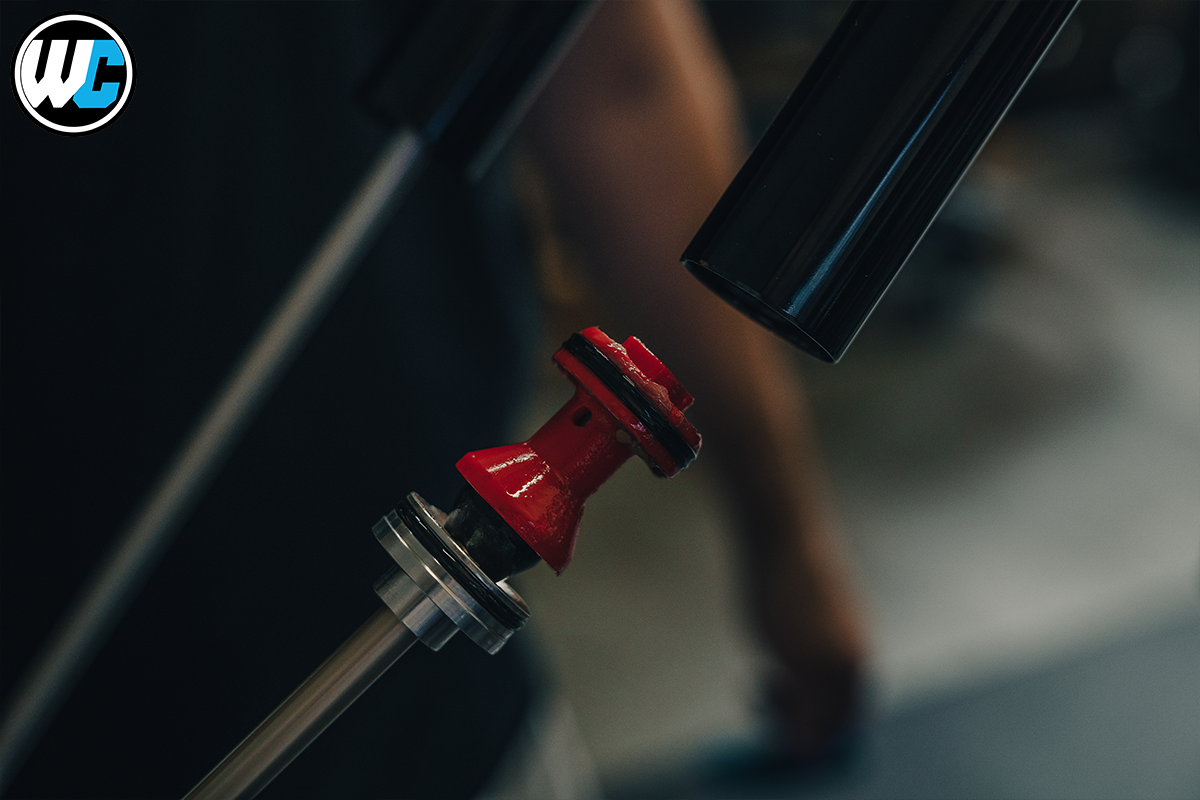
Vorsprung offers a myriad of options when it comes to modifying your suspension to get the most out of it. We recently tried out their Smashpot coil conversion kit for RockShox ZEB and Fox 38 forks which is supposed to combine the benefits of super plush off the top performance with adjustable ramp up. Check it out!
All of the parts that come with the Smashpot Coil Conversion Kit prior to assembly and installation into the fork.
Installation
We will briefly go over the installation steps for the Smashpot here accompanied by some beautiful photos including my hands, but if you are looking for a full step by step guide please refer to Vorsprung's guide here. The first thing that you will need to do prepare the fork prior to installation of the Smashpot is to let all of the air out of the fork, remove the lower leg foot nuts, drain the fluid, and remove the air valve top cap. With the RockShox Zeb, you use a cassette tool to remove the top cap, and access the volume spacers.
Removing the lower leg foot nuts.
Removing the air valve top cap. (Above, and below)
Top cap with Volume spacers removed. (Above)
Removing the air spring.
All of the old parts that you have removed from the fork, and will no longer use after you install the Smashpot.
After you remove the lower legs, top cap, and air spring, you will be left with a completely empty spring side stanchion. This is a great opportunity to clean the inside and outside of the stanchions, clean out the lowers with some isopropyl alcohol, and replace or refresh your foam rings and dust wiper seals with some fresh fluid and grease. You will want to have everything completely clean and dialed for the installation of the Smashpot assembly.
At this point you will want to lay out all of the components of the Smashpot (above) and begin familiarizing yourself with them as there are several steps you will need to follow in order to properly assemble everything. This is a relatively complex step in the process that I am not able to fully advise on so please refer to Vorsprung's installation manual here for a full step by step guide.
The Smashpot in all its beauty, fully assembled and with heat shrink applied, ready for installation into the fork.
Once you have the unit fully assembled, you will want to give it a liberal coating of Buzzy's Slick Honey prior to installation into the fork. This will allow it to easily glide up and down along the sleeve that you will install into the stanchion and wraps around the coil spring.
Coating the spring assembly with Slick Honey prior to installation in the fork.
Installing the sleeve into the fork. This sleeve and part of the installation process is unique to ZEB and 38 forks, and will help preserve the inside of your fork so you can potentially switch back to an air spring if you so desire.
Installing the Smashpot assembly into the fork.
Once you install the silicon sleeve into the stanchion, you will insert the fully assembled and greased up Smashpot into the fork, and tighten down the top cap with the appropriate socket. Be sure to use a chamferless socket in order to not round out the top cap.
The Smashpot assembly, almost fully inserted into the fork.
Tightening down the top cap.
After tightening down the top cap, you will begin to re-install your nice and clean lower legs with fresh or refreshed seals.
Reinstalling the lower legs with the Smashpot installed.
The new footnut on the spring side. There is a knob that is installed here which will adjust your fork's progression.
After reinstalling the lower legs, you will reinstall the footnut on the damper side and install the new provided footnut for the spring side. This will allow you to adjust the ramp up of the fork with the new adjuster knob that secures onto the exposed flat surface of the spring assembly that extends past the foot nut, pictured above.
All done. Now you are ready to go out and enjoy the amazing coil-sprung plushness!
First Impressions
After installing the Smashpot into my ZEB, the first thing I noticed was the incredible off the top plushness. One of the main drawbacks of air springs in suspension forks is the initial stiction and force needed to initiate the stroke, which is completely negated when you install a coil spring. This translates to incredibly smooth off the top performance out on the trail with an increased ability to absorb braking bumps and chunky sections of trial while providing oodles of traction.
I am a huge fan of coil sprung forks due to their incredible ability to smooth out the chunk on the trail and the phenomenal front wheel traction they provide, and the Smashpot is no different.
While out on the trail, there is a noticeable overall increase in compliance due to the reduction in stiction compared to the stock air spring. Many people notice a similar change when they switch from an air shock to a coil shock in that they notice a calmer rear end over choppy and technical terrain, so you can see how adding that to the front end would create a very stable and compliant bike as well.

Not only does this system feel great off the top, but it also has a progression knob that was mentioned in the installation section that will help add some ramp to the fork which is relatively unique for a coil sprung fork conversion kit. It adds a bit of complexity during the assembly of the components of the kit, but it's worth it out on the trail.
The only negatives that come to mind after installing and riding with this kit is really the added weight of the coil kit compared to the stock air spring, although if you are considering this as an upgrade you probably aren't extremely concerned about weight in the first place. For some, the added weight is worth the tradeoff for increased compliance and a calmer ride down the chunky stuff, and I personally really enjoy the feeling of coil forks and shocks on my longer travel bikes.
Final Thoughts
There's just something about a coil fork that feels amazing on a long travel enduro bike, and even though it adds a little bit of weight, the feeling while going down chattery downhills and technical trails is nearly unmatched by air suspension. The Smashpot is a great upgrade for those who want to keep their existing fork but also want to considerably improve the feel on the trail.


